
Armless Chair Exercises for Seniors Strengthen Balance, Standing Muscles and Flexibility at Home
- Coach Doug

- 16 hours ago
- 9 min read
A good exercise setup doesn’t have to look like exercise equipment. Sometimes the best tool is already in the kitchen.
An armless chair can help with sit-to-stand practice, seated stretches, arm movements, posture work, and standing balance exercises. It gives support without getting in the way. No arm rests to bump into. No complicated setup. No heavy weights to drag out.
For seniors and frail older adults, that matters. The goal isn’t to “work out hard.” The goal is to move safely, keep standing muscles active, stay flexible enough for daily tasks, and build confidence getting up, standing, reaching, and walking around the home.
This guide is informational only. If there’s been a recent fall, surgery, dizziness, chest pain, new weakness, or a medical change, check with a doctor, physical therapist, or qualified health professional before starting.
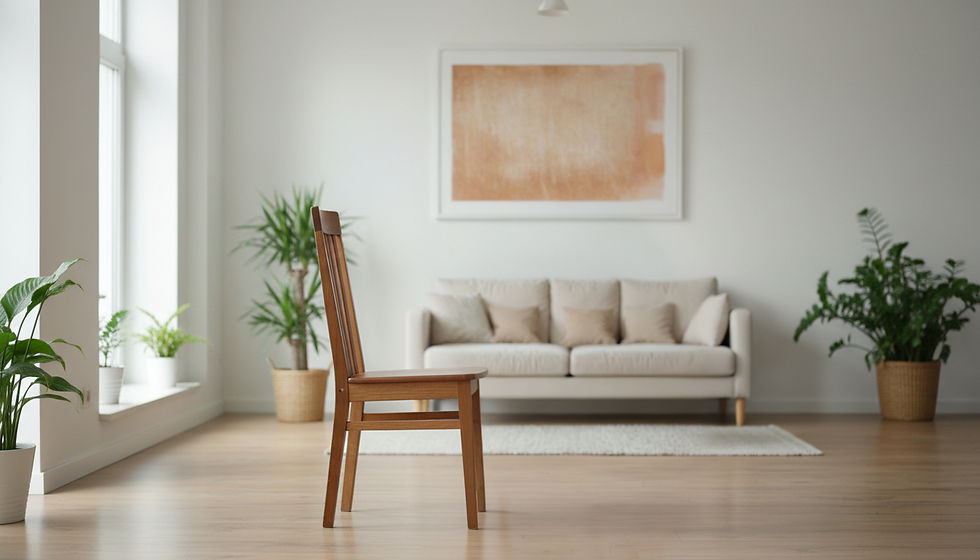
Why an armless chair works so well for home exercise
The armless kitchen chair is useful because it supports the way the body actually moves during the day.
Think about common daily activities:
Getting up from a dining chair
Standing at the sink
Reaching into a cabinet
Turning to look behind you
Bending a knee to step forward
Sitting down with control
Holding steady while putting on a jacket
These movements need leg strength, balance, posture, flexibility, and upper body motion. An armless chair helps train all of that in one place.
The chair gives three big benefits.
It lets the arms move freely.
Arm rests can block shoulder circles, reaching, gentle twists, and seated arm raises. Without arms on the chair, there’s room to move naturally.
It gives support for standing balance.
Standing behind the chair and holding the backrest gives a stable handhold. That can make balance practice feel less scary.
It helps train the muscles used for standing.
Every time you practice standing up and sitting down with control, the hips, thighs, buttocks, calves, and core all join in. Those are the muscles that help with transfers, walking, and staying upright.
For armless chair exercises for seniors, the chair is not just a place to sit. It’s the anchor for a whole home routine.
Choose the right chair before you start
Not every chair is safe for exercise. Choose carefully.
A good exercise chair should be:
Sturdy and solid
Armless
Heavy enough that it won’t slide easily
Flat on the floor with no wobble
High enough that standing up doesn’t feel impossible
Placed on a non-slip surface
Free of wheels or rollers
A kitchen or dining chair often works well. A folding chair may work if it’s heavy and stable, but many are too light. Avoid chairs with swivel seats, soft sinking cushions, wheels, or legs that rock.
Place the chair where there’s space around it. For standing exercises, set the chair so the backrest faces you. Some people feel safer putting the chair against a wall or near a counter. That can keep it from moving.
Wear supportive shoes unless a clinician has told you otherwise. Bare feet or loose slippers can slide. Keep pets, throw rugs, cords, and laundry baskets out of the way.
A simple rule helps: if the chair moves when you hold it, pick a different chair or change the setup.
Start with the sit-to-stand exercise
The sit-to-stand is one of the most useful chair exercises because it looks exactly like real life. You practice the motion of getting up from a chair and sitting back down with control.
How to do it
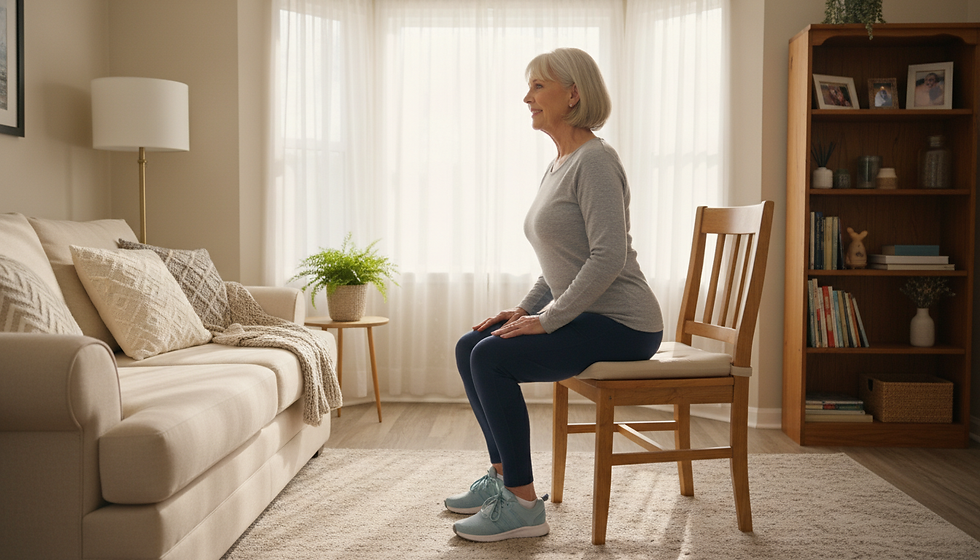
Sit near the front half of the chair, not all the way back. Place both feet flat on the floor, about hip-width apart. Bring the feet slightly back so they’re under the knees.
Lean forward a little, like you’re bringing your nose over your toes. Press through both feet and stand up tall.
Pause for a breath. Then slowly sit back down. Try not to drop into the chair.
If needed, use your hands on the seat beside you. If that’s too hard, place the chair near a counter so you can use one hand for light support.
Try 3 to 5 repetitions to start. Rest as needed.
What to watch for
Keep the knees pointing forward. Don’t let them collapse inward. Try to make the sitting down part slow and quiet.
The lowering phase matters. Sitting down with control builds strength and protects against plopping, which can be hard on the back and hips.
If standing all the way up feels too hard, practice small forward leans from the chair first. Lean forward, feel weight move into the feet, then sit tall again. That still teaches the body how to prepare for standing.
Use the chair back for standing balance exercises
Balance practice can feel intimidating, especially after a fall or a near fall. The back of an armless chair gives a steady place to hold while the legs practice standing work.
Stand behind the chair. Hold the top of the backrest with both hands. Keep the shoulders relaxed. Stand tall, but don’t lock the knees.
Start with both hands on the chair. Over time, if it feels safe, use a lighter grip. Safety comes first. There’s no prize for letting go.
Marching in place
Stand behind the chair and hold the backrest. Slowly lift one knee a few inches, then place the foot down. Switch sides.
Keep it small. This doesn’t need to look like a parade march.
Try 5 marches on each side.
This helps with hip strength, weight shifting, and the first part of stepping.
Heel raises
Hold the chair. Slowly rise onto the balls of both feet. Lower the heels back down.
Try 5 to 10 repetitions.
Heel raises wake up the calf muscles, which help with walking, balance, and ankle control.
Side leg lifts
Hold the chair. Stand tall. Move one leg out to the side a small distance, then bring it back. Keep the toes pointing forward.
Try 5 repetitions on each side.
This works the side hip muscles. Those muscles help keep the body steady when stepping sideways or turning.
Back leg lifts
Hold the chair. Gently move one leg straight back, just a little. Don’t arch the back. Bring the foot back under you.
Try 5 repetitions on each side.
This helps the buttock muscles, which support standing, walking, and climbing steps.
Weight shifts
Hold the chair with both hands. Shift weight gently toward the right foot, then back to center. Shift toward the left foot, then back to center.
Keep both feet on the floor.
Try 5 shifts each way.
This is a quiet exercise, but it’s powerful. Walking is really a series of weight shifts, one step after another.
Use the seat for seated upper body movement
One reason an armless chair is so helpful is that it doesn’t block the arms. That makes seated upper body movement easier and more comfortable.
Sit tall, with feet flat. If the feet don’t reach the floor, use a firm book or footrest. Keep the back long, but don’t force a stiff military posture.
Shoulder rolls
Let the arms rest at the sides. Roll the shoulders up, back, and down. Make the circles slow.
Try 5 circles. Then reverse direction.
This can ease tension around the neck and upper back.
Seated arm raises
Start with arms at the sides. Raise both arms forward to a comfortable height, then lower them.
If both arms at once is too much, do one arm at a time.
Try 5 repetitions.
Move only through a pain-free range. The goal is smooth motion, not height.
Seated reach and return
Reach one hand forward like you’re reaching for a cup on the table. Return to tall sitting. Switch sides.
Try 5 reaches per side.
This trains the trunk and shoulders for daily reaching. Since there aren’t arm rests, the arms can move without bumping into anything.
Gentle seated twists
Cross the arms softly over the chest or rest hands on the thighs. Turn the upper body a little to one side. Come back to center. Turn the other way.
Try 3 to 5 each side.
Keep the movement small and comfortable. Don’t force the neck.

Stretch the hamstrings and quads while seated
Flexibility helps with walking, dressing, standing upright, and getting comfortable in bed. The armless chair makes simple leg stretches easier to set up.
Move slowly. Stretches should feel mild to moderate, not sharp. Don’t bounce.
Seated hamstring stretch
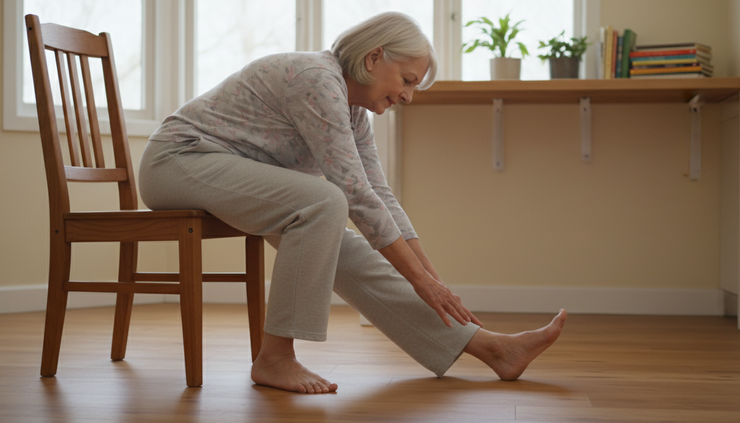
Sit near the front of the chair. Keep one foot flat. Extend the other leg forward with the heel on the floor and toes pointing up.
Sit tall. Hinge forward slightly from the hips until you feel a stretch in the back of the extended thigh.
Hold for 10 to 20 seconds. Switch legs.
If the knee doesn’t straighten all the way, that’s fine. A small bend is okay.
Seated quad stretch variation
The quadriceps are the muscles in the front of the thigh. A classic quad stretch can be difficult for many older adults because it often requires grabbing the foot behind the body.
Here’s a gentler chair version.
Sit sideways on the chair so one side of the body is near the chair back. Hold the backrest for support. Slide the outside foot slightly back under the chair if comfortable, keeping the toes on the floor and heel lifted.
You may feel a stretch in the front of the hip or thigh. Keep it gentle.
Hold 10 to 15 seconds. Switch sides.
If this bothers the knee, skip it. Use walking, sit-to-stands, and gentle knee bends instead.
Ankle circles
While seated, lift one foot slightly and make small circles at the ankle. Do 5 circles each way. Switch feet.
This can help keep the ankles moving, which supports balance and walking comfort.
Build a simple chair routine that doesn’t wear you out
A good home routine should leave you feeling more awake, not wiped out. Frail older adults often do better with short practice sessions, sometimes just a few minutes at a time.
Here’s a gentle starter plan.
Exercise | Starting amount | Main benefit |
Sit-to-stand | 3 to 5 times | Leg strength and transfers |
Marching behind chair | 5 each side | Hip strength and stepping |
Heel raises | 5 to 10 times | Calf strength and ankle control |
Side leg lifts | 5 each side | Side hip support |
Seated arm raises | 5 times | Shoulder movement |
Seated hamstring stretch | 10 to 20 seconds each side | Back-of-thigh flexibility |
Rest between exercises. Sit down when needed. Drink water nearby.
A simple rhythm works well: exercise, rest, check how you feel, then continue if you feel steady.
Stop and seek help if there’s chest pain, unusual shortness of breath, faintness, sudden weakness, severe pain, or dizziness that doesn’t pass quickly.
Other smart ways to use the armless chair
The same chair can help with small daily movements that make life easier.
Use it for posture resets. Sit tall, place the feet flat, and take 3 slow breaths. Let the shoulders settle down and back.
Use it for safe dressing support. Sitting to put on socks, shoes, or pants is safer than bending from standing.
Use it for standing breaks. During TV time, stand up once during a commercial or between shows. Sit back down slowly.
Use it for kitchen confidence. Stand behind the chair and practice weight shifts before cooking or washing dishes. It can help the body feel ready before standing at the counter.
Use it for gentle coordination. Seated heel taps, toe taps, or alternating hand reaches can wake up the brain-body connection without needing any equipment.
Small movements count. Consistency matters more than doing a long routine once in a while.
Make the chair setup safer and easier to stick with
Leave the chair in a clear, familiar spot if possible. When the setup is easy, exercise is more likely to happen.
Try these simple habits:
Keep the chair near a wall, counter, or open floor space
Exercise at the same time each day
Start with one or two exercises instead of the whole list
Use a timer if counting feels annoying
Keep movements slow enough that breathing stays comfortable
Ask a family member, friend, or caregiver to stand nearby if balance feels uncertain
The best chair routine is the one that feels safe enough to repeat.
If you’d like more guided support with senior-friendly fitness and wellness planning, you can explore My Senior Coach pricing plans.
FAQ
What kind of chair is best for senior exercises?
A sturdy armless kitchen or dining chair is usually best. It should not have wheels, a swivel seat, or wobbly legs. The seat should be firm enough that standing up feels stable.
Can frail older adults do chair exercises every day?
Many gentle chair exercises can be done often, but the right amount depends on health, strength, and fatigue. Short sessions with rest are usually better than pushing too hard. A clinician can give personal guidance.
Should I hold the chair with one hand or two hands?
Start with two hands, especially for standing balance exercises. If balance improves and it feels safe, a lighter grip may be enough. Don’t rush letting go.
What if sit-to-stands are too hard?
Start with smaller steps. Practice leaning forward from the chair, pressing the feet into the floor, or standing from a slightly higher surface. Using hands for support is okay.
Are chair exercises enough for strength and balance?
They can be a very good start, especially at home with no equipment. Over time, some people may add walking, light resistance bands, or guided therapy exercises if appropriate.
The humble kitchen chair can do a lot
An armless chair is simple, but it solves a lot of problems. It gives support for balance. It leaves room for the arms to move. It helps practice standing up and sitting down. It turns a small area at home into a practical exercise space.
Start with one safe movement today. Maybe it’s 3 sit-to-stands. Maybe it’s 5 heel raises while holding the chair. Maybe it’s one gentle hamstring stretch on each side.
That’s enough to begin. Keep it steady, keep it safe, and let the chair help.


Comments